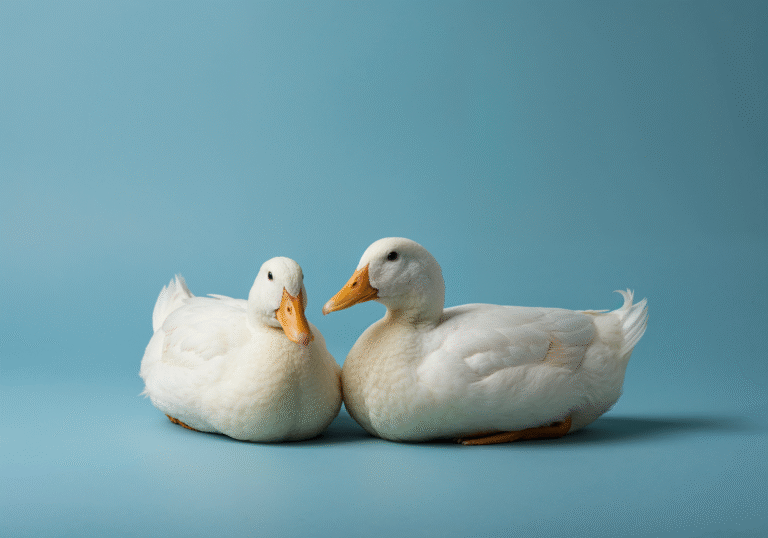
Here are my duck egg incubating tips and procedures. These are my personal methods and results may vary. Buff Orpington Duck eggs can be somewhat of a difficult breed of egg to hatch compared to other breeds. Another reason why the buffs may be considered a rare breed. They take approximately 28 days to hatch.
HATCH RATE: Factors such as fertility, incubator conditions and shipping can all affect your hatch rate. I have always had a reduced hatch rate when I have incubated shipped eggs compared to my own eggs. This is unfortunately the risk you take however when purchasing eggs. There is no definite answer to how many of your eggs will successfully hatch, so by following the methods below it should increase your chances of a more successful hatch.

EGG QUALITY: I highly recommend not even bothering trying to hatch duck eggs from first year layers. I believe this is the main reason for so many deaths of ducklings in the last days of incubation. I will not sell eggs to anyone from our first year duck layers. The eggs are too small, ducklings are weak, membranes are too tough to pip through and they are often malpositioned. We had the best success hatching eggs from second years layers from eggs in the beginning of Spring. Heading into the end of Summer fertility starts to drop.
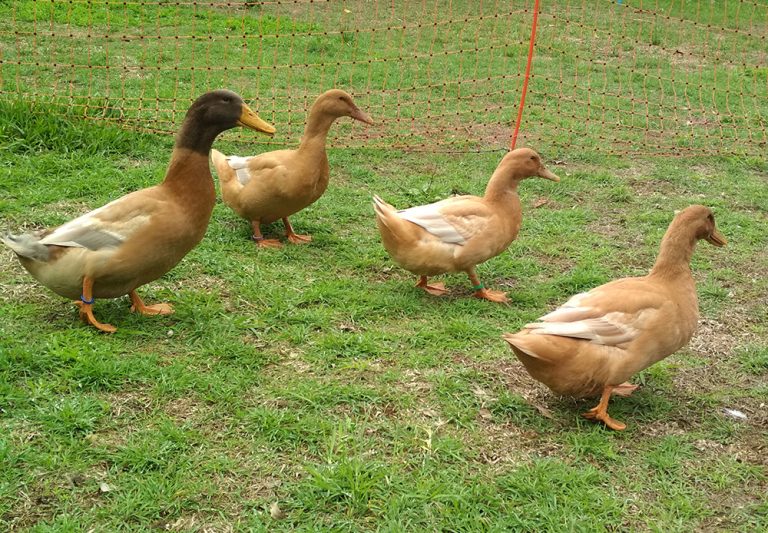
PARENT HEALTH: I recommend feeding your ducks a high quality feed with vitamins including niacin which is specialised for ducks. A good diet can affect fertility, egg quality and health of offspring.

INCUBATOR TEMPERATURE: Use an additional hygrometer to measure temperature and humidity, you may need a couple of hygrometers to make sure the readings are correct. I set my incubator to 37.5 – 37.7 degrees celsius (depending which incubator I am using) . Ensure the temperature remains consistent and doesn’t go too high over 38 degrees or below 37 degrees on too many occasions. Temperature fluctuations can cause deformities in ducklings such as wry neck, egg malpositioning, leg issues and hatching with unabsorbed yolks. Otherwise your eggs may not even hatch at all or die in early stages. If you incubator is fluctuating too many times, it may be time to ditch the incubator!
HUMIDITY: During the first 25 days I try to keep humidity around 50-55%, however do not stress too much if there are moments when the humidity may drop, especially in the mornings. Depending on your room humidity, a few squirts of water into the water well is usually enough. Some people will successfully hatch using dry incubation methods, but I prefer to keep some moisture in the incubator at all times as ducks live in wet conditions. Humidity control however is more important when it comes to hatch time preparation (Day 25).
EGG TURNING: Between day 1 until day 25 I manually turn my eggs 3 times a day. Morning, afternoon and late evening. Eggs are marked in crayon with an X on one side and O on the other side. I normally use the incubator’s automatic turner with chicken eggs, but all the duck eggs don’t always fit so I don’t mind putting the effort in to manually turn three times a day. You can of course use the incubator automatic turning trays if you wish.

EGG MISTING: From day 10-25 I misted my eggs on both sides with water twice a day when
manually turning eggs morning and afternoon. This is to mimic the duck leaving
the nest and going for swims and returning to sit back on the eggs. Some people
let their eggs cool for ten minutes, but I just left the lid open for a few minutes.
Some people don’t do this and still have great hatches, but I wanted to try and
see if it helped. Again this is just my personal experience and will do this for
future hatches.

EGG CANDELLING: You can purchase an egg candler, otherwise just use a torch or the light on your phone. I’ve found candelling eggs at day 7 of incubation is best. You should be able to see good vein / blood vessel formation and heart beat from within the egg. After about day 4 though you should be able to see the embryo beginning to form and tiny heart beat which is amazing to see. I would not discard any clear eggs until after day 7 at least. By day 7 if an egg is still clear it is highly likely that the egg was not viable.

EMBRYO DEMISE : As pictured above. Eggs which are clear are non viable and may have never been fertilised or started to develop. (two top photos).
Eggs which show a red ring and no veins are referred to as ‘blood rings’ (two bottom photos). There will be no embryo movement and the contents of the egg may appear to just float around when moving the egg. Eggs which are clear after day 7 or with blood rings throughout the incubation process have had an early demise and should be discarded.
Eggs which have a black mass and no veins or embryo movement generally mean the embryo has also passed. Usually the egg will appear clear with a black mass, however some veins may be present but barely present in comparison to viable eggs on the same day of incubation. If you turn the egg around the black mass may float around, but will not move and wiggle like a live embryo does. There may also be a grey tinge to the egg shell. No one wants an egg going off and exploding in the incubator so please remove these eggs as soon as you find them.

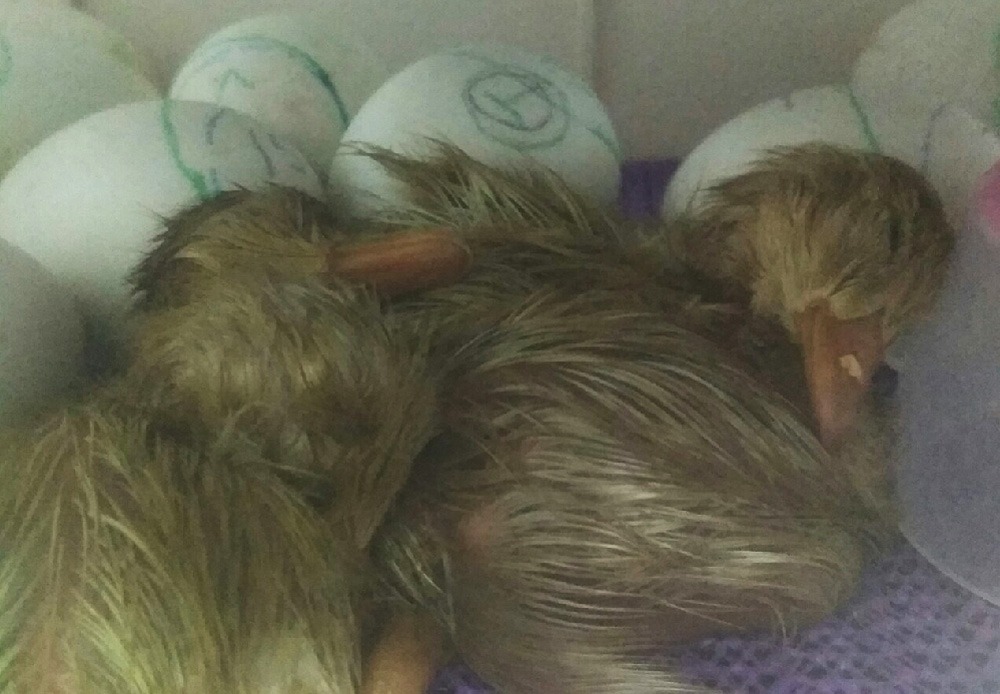
CANDELLING BEFORE LOCK DOWN : I usually candle the eggs once a week until incubator lock down (day 25). At day 25 you should candle for the last time. The whole egg will appear dark except for the air cell by this stage. Generally you should see very large dipped air cells and some ducklings may have already internally pipped and show shadowing or beak movement within the air cell if they are correctly positioned. (Photo above shows the duckling which has internally pipped)

INCUBATOR ‘LOCK DOWN’: On day 25 (aka lock down) we prepare for hatch. If I see most of the eggs have internally pipped already when candelling around day 23 then sometimes I will lock down a day earlier. Remove any turning trays or devices now. Flip your incubator base to the rough side if it has one. I usually put a non slip drawer liner in (as pictured). I cut holes in it for good air flow and leave spaces around edges. Fill up the water channels keeping humidity around 70-75% throughout the entire last days of hatch. It’s best to not move the eggs or open the incubator until eggs have hatched. This allows the duckling to get into good position for hatch and prevents humidity drops.

PATIENCE IS KEY NOW : Now you must sit on your hands and be patient! Ducks take a long time to hatch, what seems like three times the length of chickens. It’s basically like watching paint dry. I have trouble with this part the most. After internally pipping ducklings can take another 2-3 days to externally pip. Please don’t Google how long it takes between pips, take my word for it! You will probably read online that it’s around 24 hours and freak out and want to help too early. They can last much longer and still breathe within the air cell. After externally pipping it can take another 1-2 days to start unzipping.

DO NOT OPEN THE INCUBATOR! : By opening the incubator you put the other eggs at risk of becoming sticky and have issues hatching. The humidity drops and can ‘shrink wrap’ the ducklings. The membranes become brown, thick and sticky and they will be unable to hatch by themselves. If there is a reason that you need to open the incubator do it quickly by only lifting the top a little and mist remaining eggs with warm water. I only assist now if a duckling gets stuck unzipping half way. In saying that though, opening the incubator can be the cause of this happening in the first place. If you try and assist too early there is a risk that the yolk has not fully absorbed and you will rupture blood vessels and kill the duckling. These duckling generally have issues with strength and being able to stand and walk around once hatched. I am not going to cover assisted hatches in the article. Please contact me if you have questions about this.
PIPPING THE WRONG END : Occasionally you will get ducklings which pip the pointy end of the egg. In most cases they will hatch just fine and do not need assistance. When candelling you will not see any beak movement within the air cell. Bruising at the pointy end of the egg may be present, and this is generally the spot which they will externally pip. ( pictured above)
If you open the incubator too many times then they will have a higher risk of becoming sticky. Malpositioned ducklings are more prone to hatching with curled feet and leg issues. If you notice this it is best to let them dry off completely for 24 hours and reassess if they need their feet taped. Some recover within this first 24 hour period. If you are going to tape their feet then it needs to be done within the first couple of days of life when their ligaments are still soft. Poultry vitamins can also be of benefit. Please contact me if you need help with this.

I hope this helps. Any questions let me know! Again this is my personal experience and other people may do things differently and still get good hatches too. If there is something I have missed please contact me and I will add to this article. Happy hatching!